TechNote-9, August 1, 2025: Follow my steps to successfully convert your hotspot running WPSD to the forked version that supports M17. #technote
TechNotes available
TechNote 4: Configuring DVSwitch Mobile for your AllStar node
TechNote 6: Using the Groundwire Softphone with Hamshack Hotline
TechNote 8: Connect your AllStarLink node to a Windows PC with IAXRPT
TechNote 9: Converting a hotspot to the forked WPSD-M17 software
A few days after the M17 Project announced they had forked WPSD to preserve M17 functionality, I converted my hotspot to the forked version.
The M17 team has therefore decided to create a fork of the popular WPSD digital voice distribution. It is certainly not a perfect solution, but it can be seen as an interim solution to get QRV again and create a better solution.
It could not have been easier. What follows assumes that you, too, may be using WPSD for your hotspot and want to make the jump to the WPSD-M17 fork. But even if you are not using WPSD right now, you’ll find plenty of useful steps in this summary of how I converted my hotspot.
Update and backup your working hotspot
First, I updated my working WPSD hotspot, then downloaded a backup of the configuration. Please don’t skip this step, because if things go wrong, you’ll be overjoyed to have an easy path to recover your system.
After properly shutting down the hotspot, I extracted the microSD card and put it in a container (translation: a small zipper-sealed snack bag), dated and labeled as to contents.
Download the fork and burn the image
The download of the forked package started slowing but then picked up speed. This one took about 10 minutes. Find the files at https://m17project.org/wpsd/.
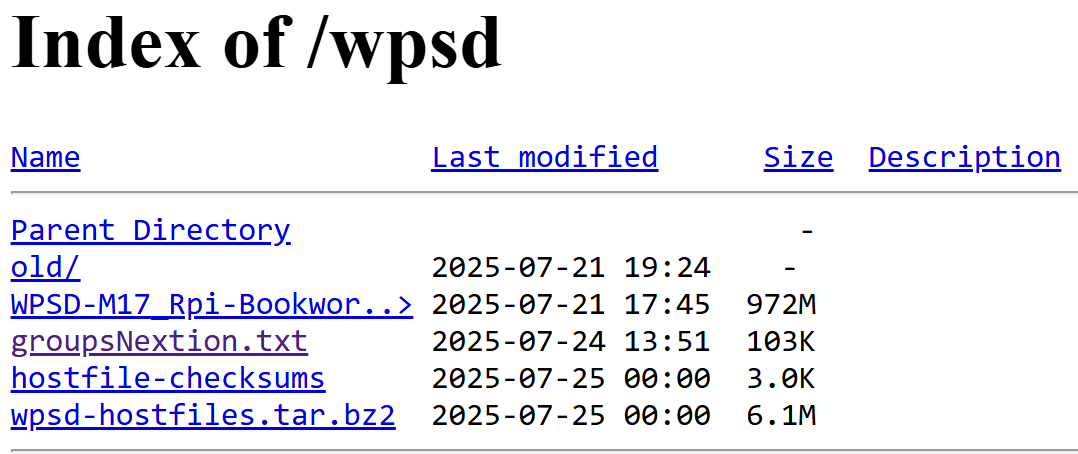
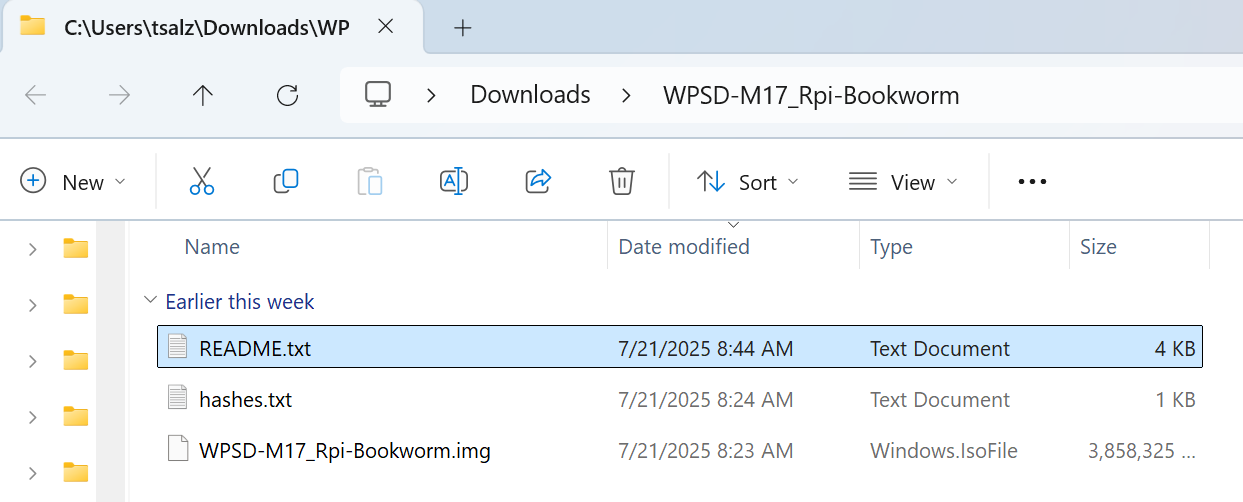
The image file is named WPSD-M17_Rpi-Bookworm.7z. The .7z file extension means it is a 7-Zip file. (Learn more about 7-Zip and get this free, open source program at https://www.7-zip.org/.) You must decompress the zipped file to get the .img file required for burning to a microSD card. My Microsoft Surface 7 laptop running Windows 11 has a microSD slot, making it very easy for me to read and burn cards. I do recommend that you review the README.txt file before proceeding. It has a lot of great information. Here’s what saved to my laptop after decompressing the zipped file:
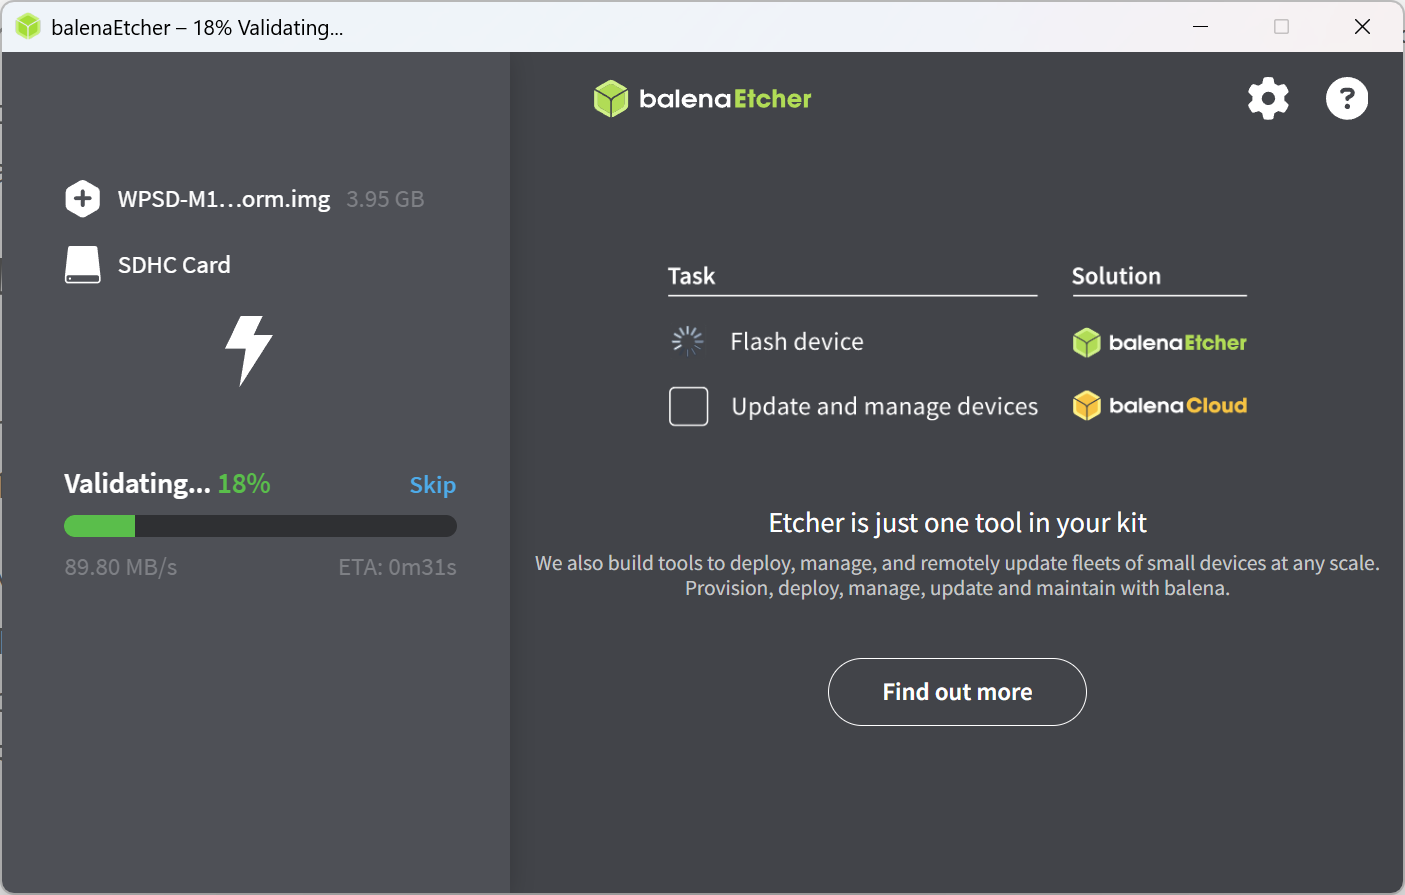
I used balenaEtcher to burn the image to a 32 Gb PNY-brand Class 10 microSD card (it’s what I had on hand). balenaEtcher flashes the image to the card, then verifies the freshly burned image.

By the way, balenaEtcher calls it validating:
Insert the microSD card and boot up
After the microSD card is flashed and has been validated, it goes into the microSD slot on your hotspot. Be sure the hotspot is powered off before you put the fresh microSD card in. Once the card is seated, power up the hotspot.
After the system boots up, you’ll need the IP address of the hotspot on your network. Easier is to give it about five minutes before trying http://wpsd.local/. (For more thorough instructions, visit the WPSD installation page put together by Chip W0CHP.)
You want to see the WPSD “new installation” screen in order to proceed. It looks just like the original WPSD new installation screen except for one thing: this one says “Branch: M17” in the upper right corner!
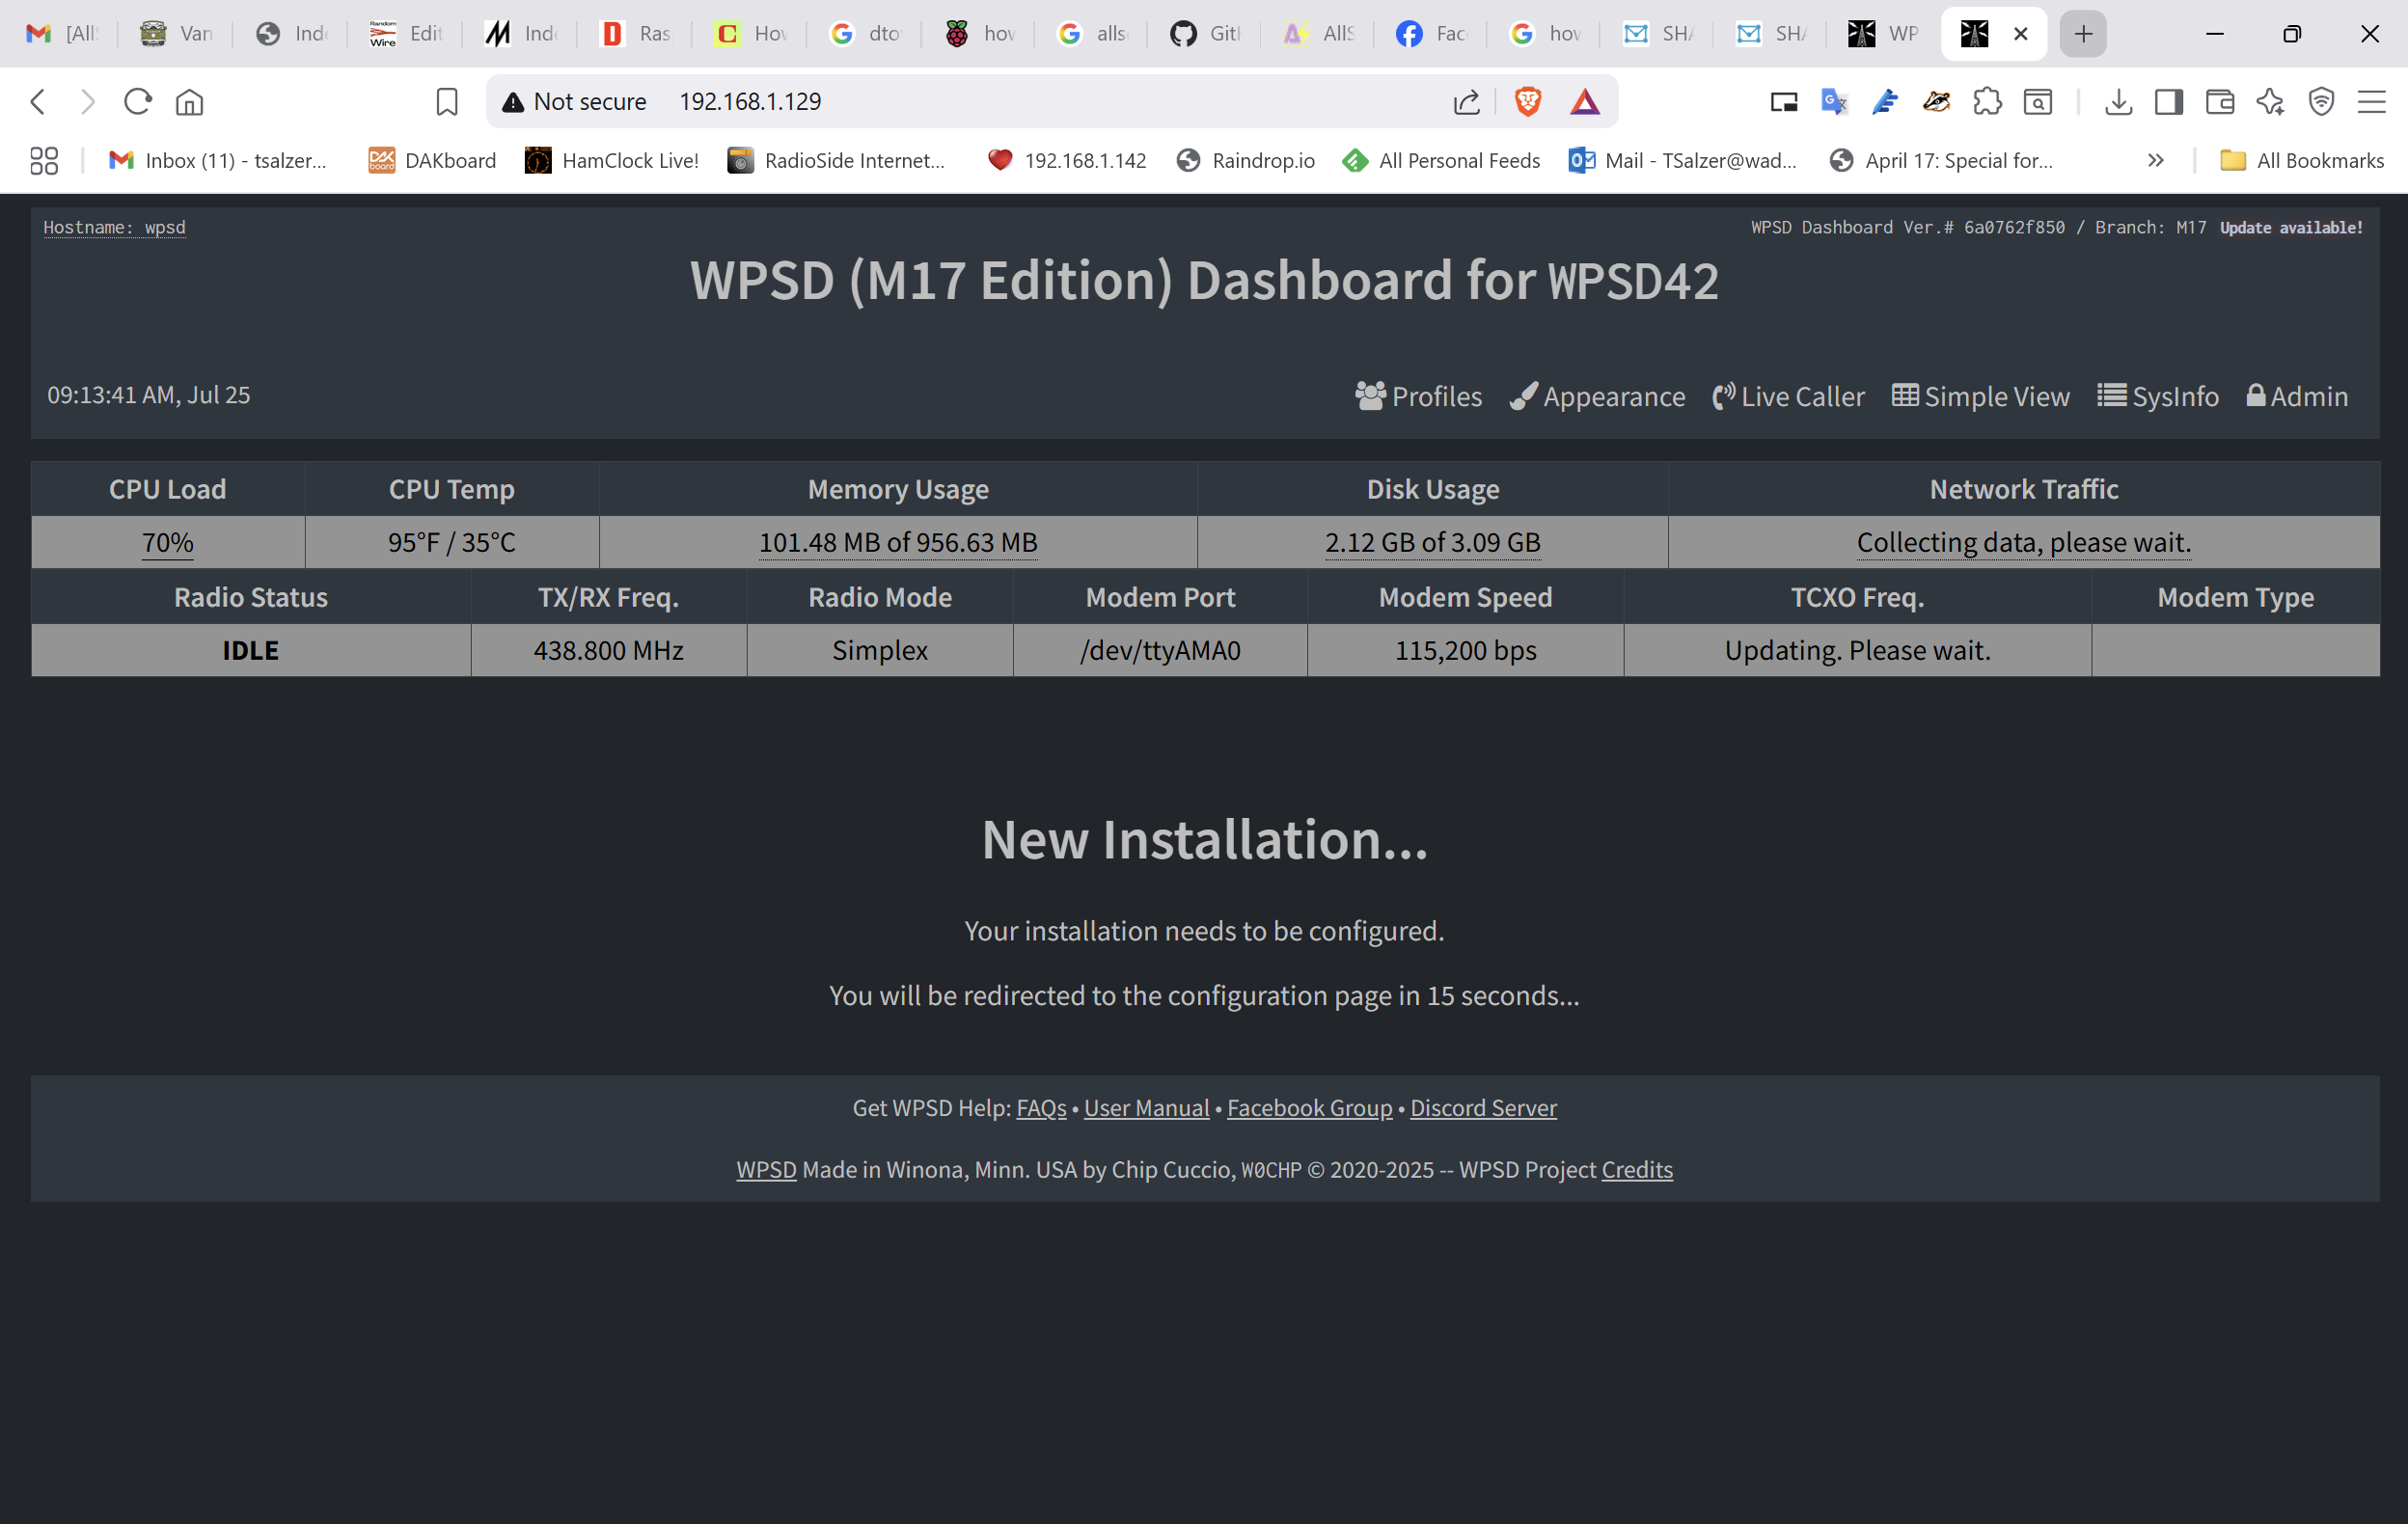
Once you see the new installation screen in your browser, you’ll be automatically redirected to the configuration page in about 15 seconds.
Restore your working configuration
If you had a working WPSD hotspot and you saved a copy of your configuration with the backup/restore dialogue, this is when that saved configuration will come in handy. Go to the backup/restore page, select the Choose File button, and upload your saved config.
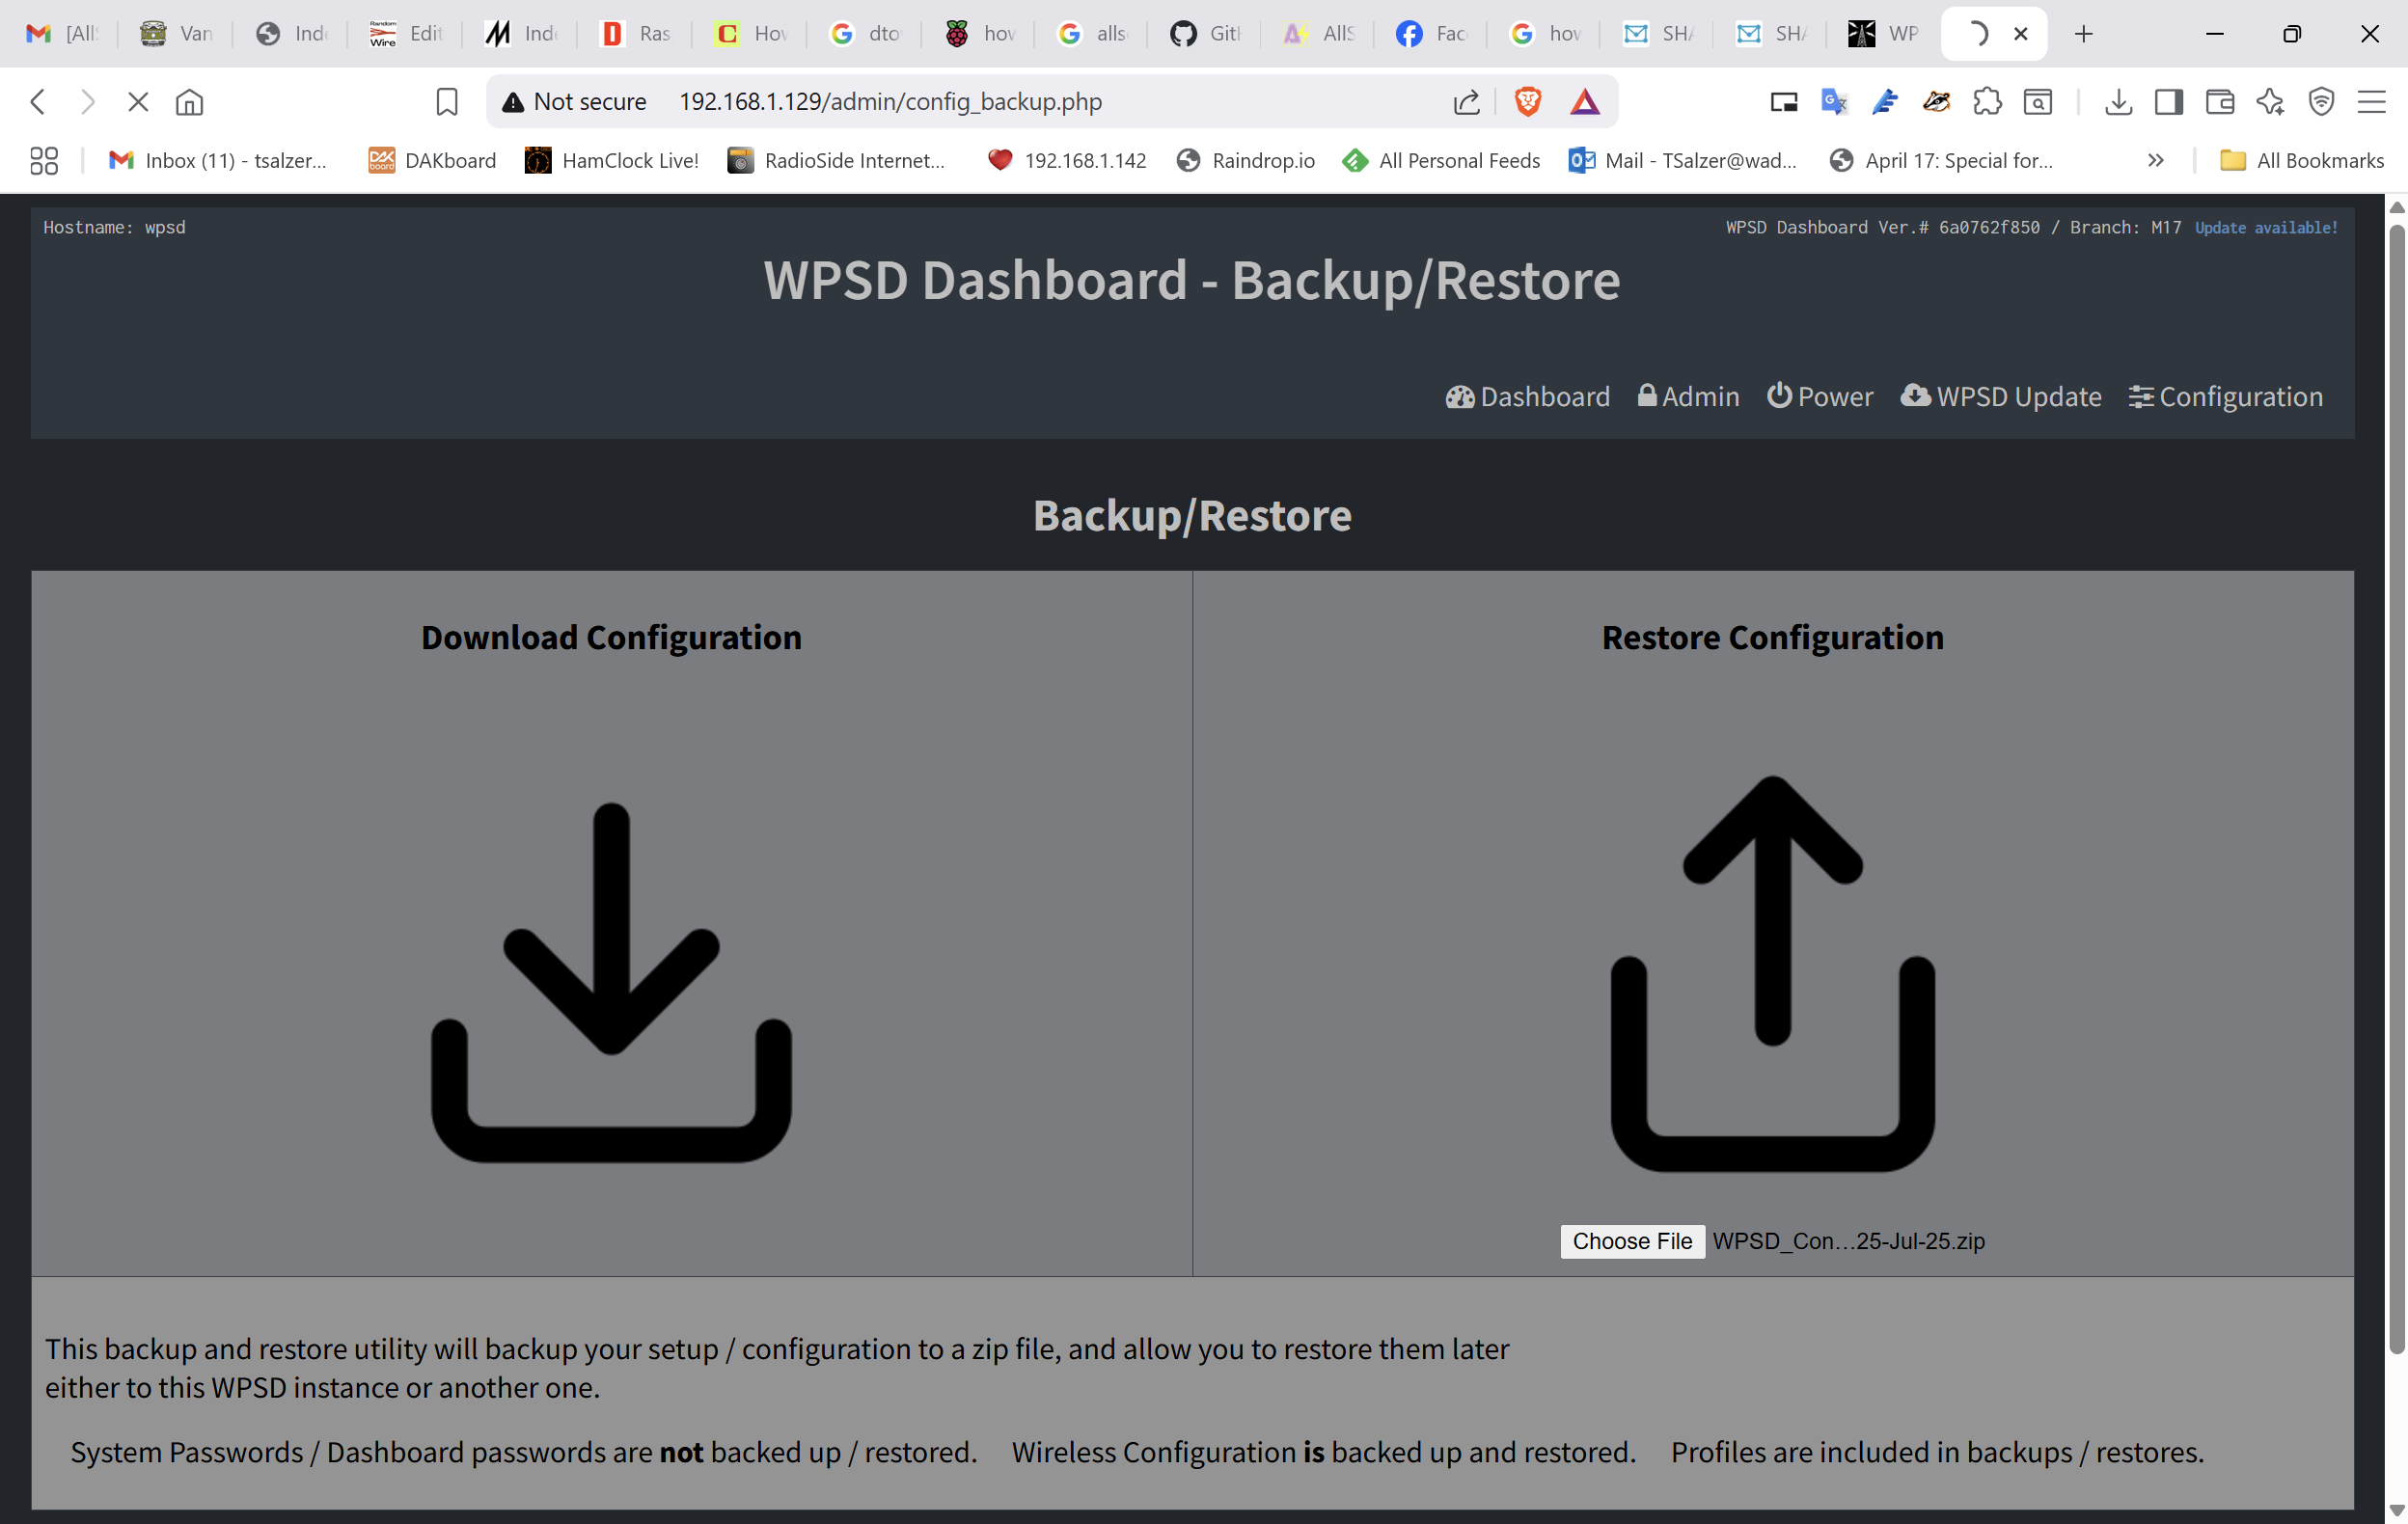
Restoring the saved configuration details can take minutes, so please be patient and let the process continue, even if it looks like nothing is happening. Eventually, you’ll get a notice that says the restoration is complete. At that point, click the Dashboard link and (fingers crossed) find your freshly installed version of WPSD working just like it did before, except now M17 shows up in the left column.

Update WPSD-M17
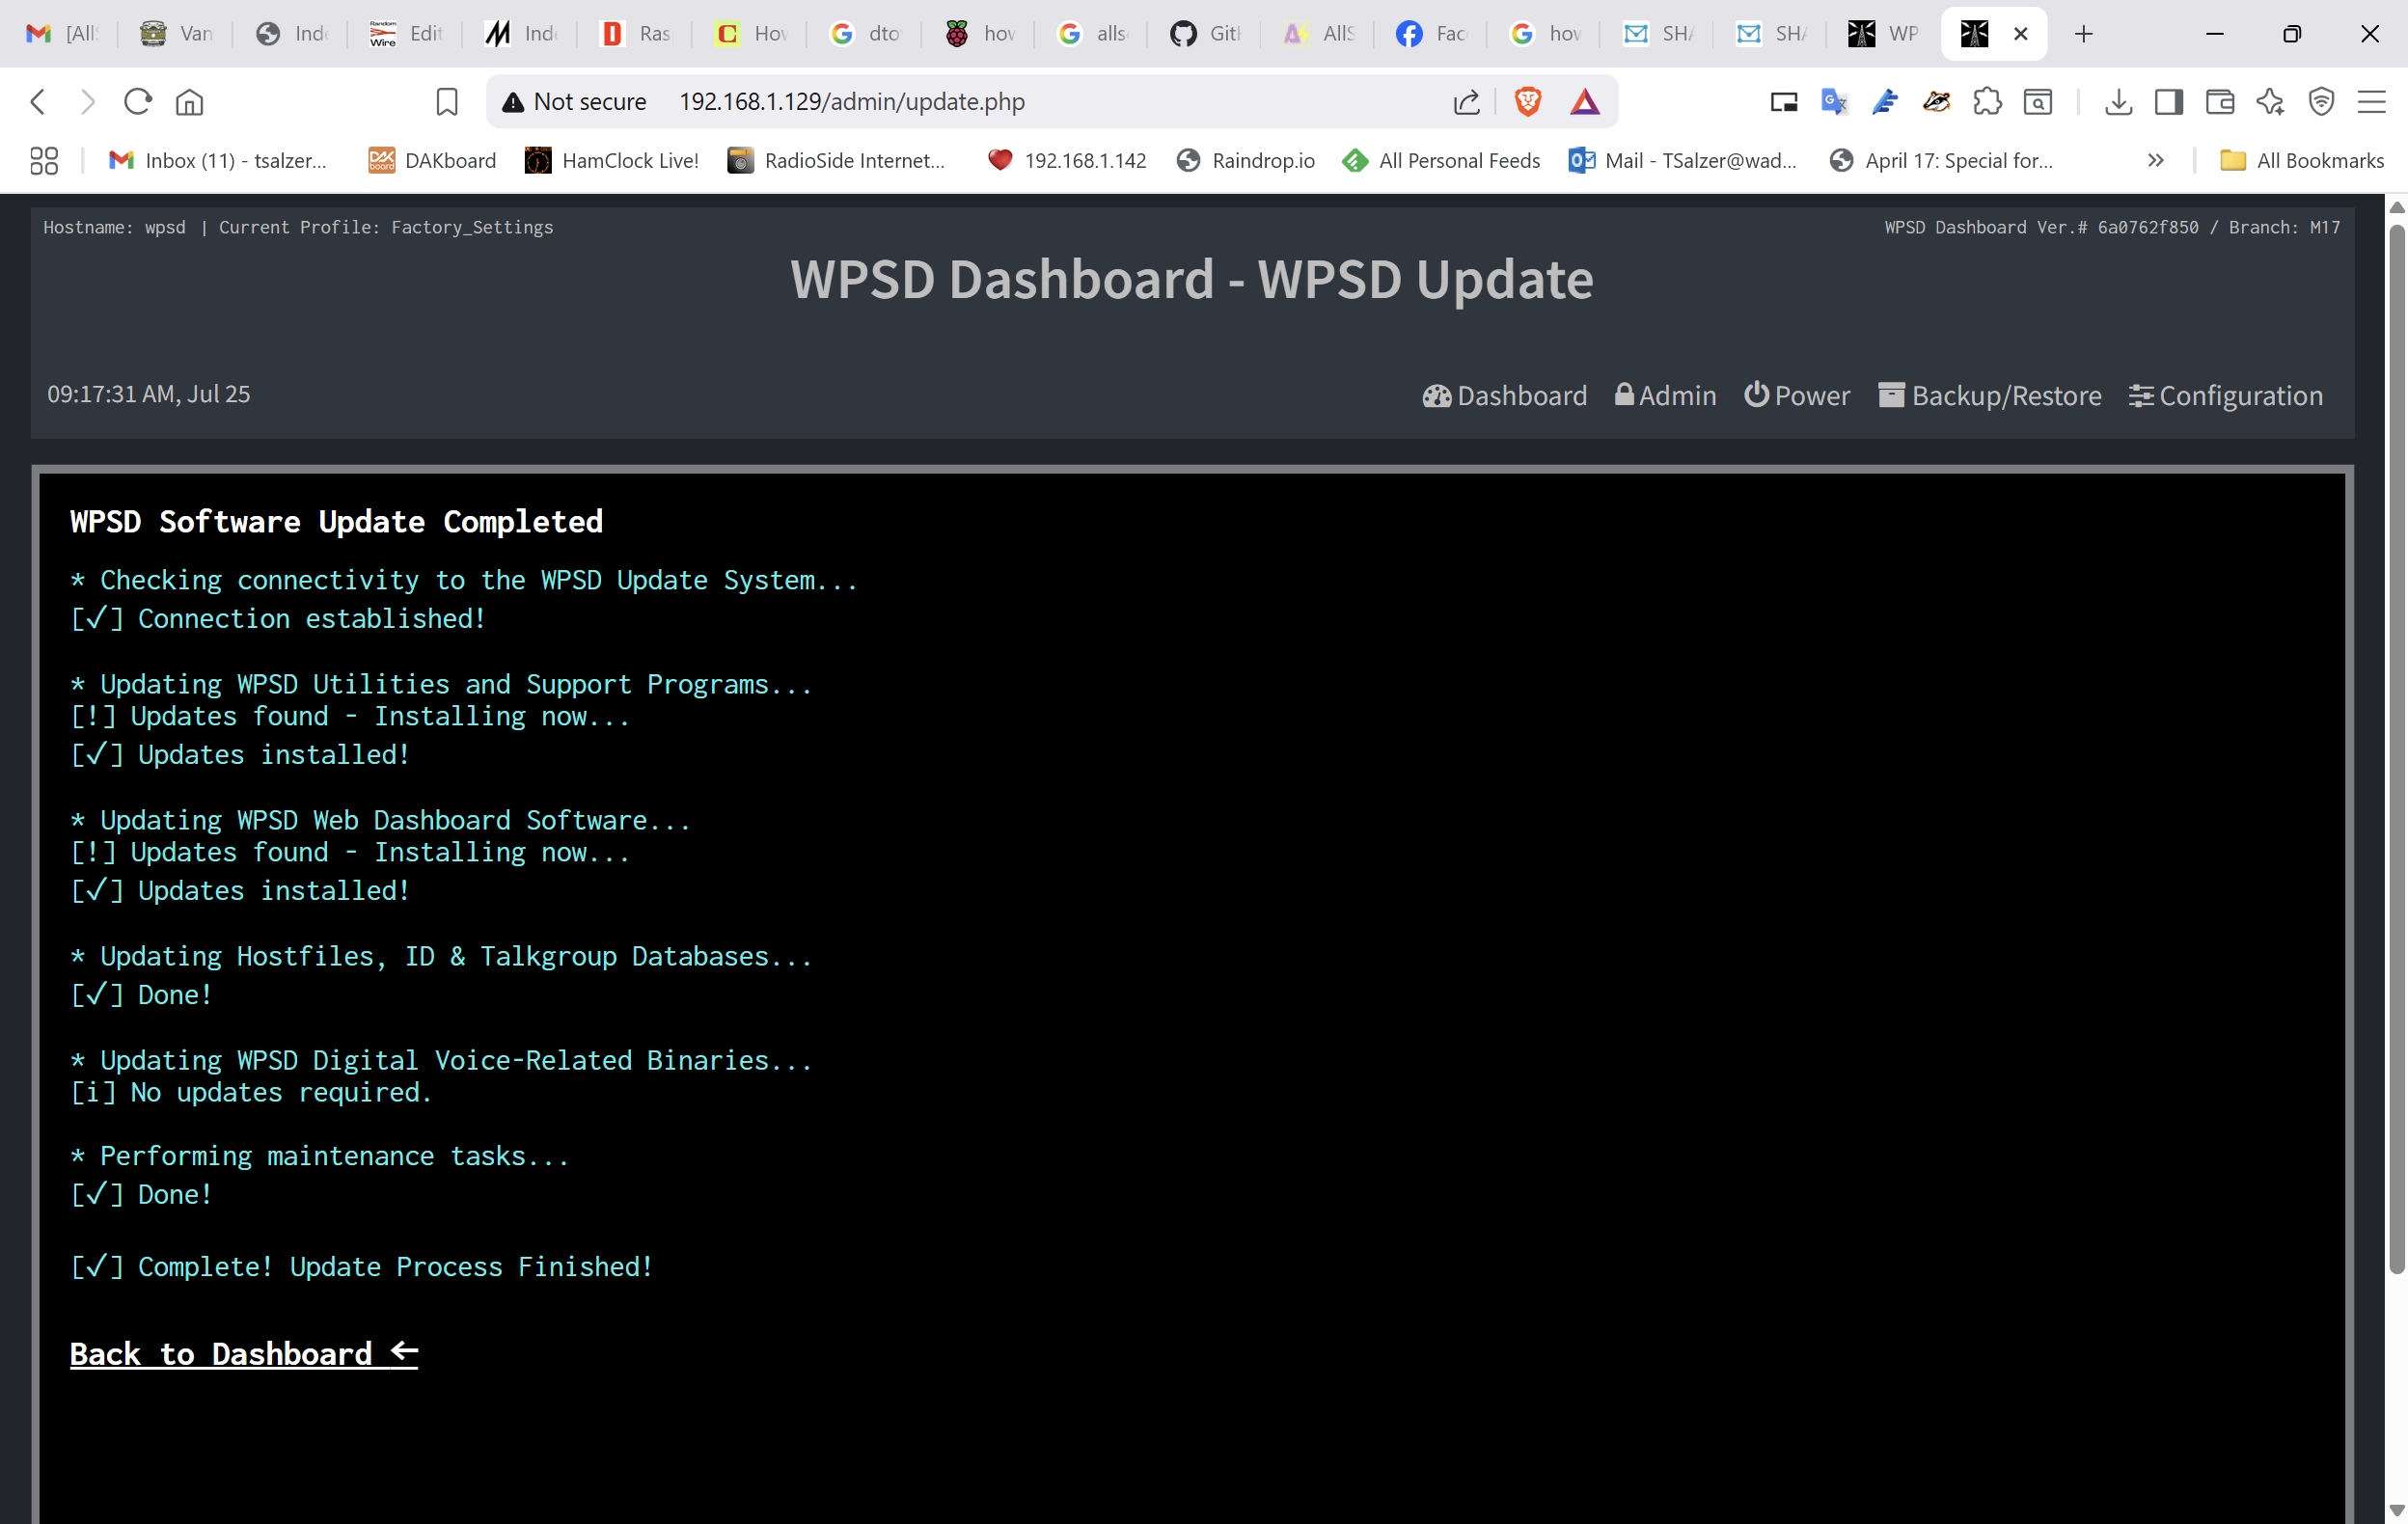
The other thing that showed up in the upper right corner was an update notice, so I went ahead with the update and hoped it didn’t undo everything I had just done. The update processed just fine and M17 functionality was preserved.
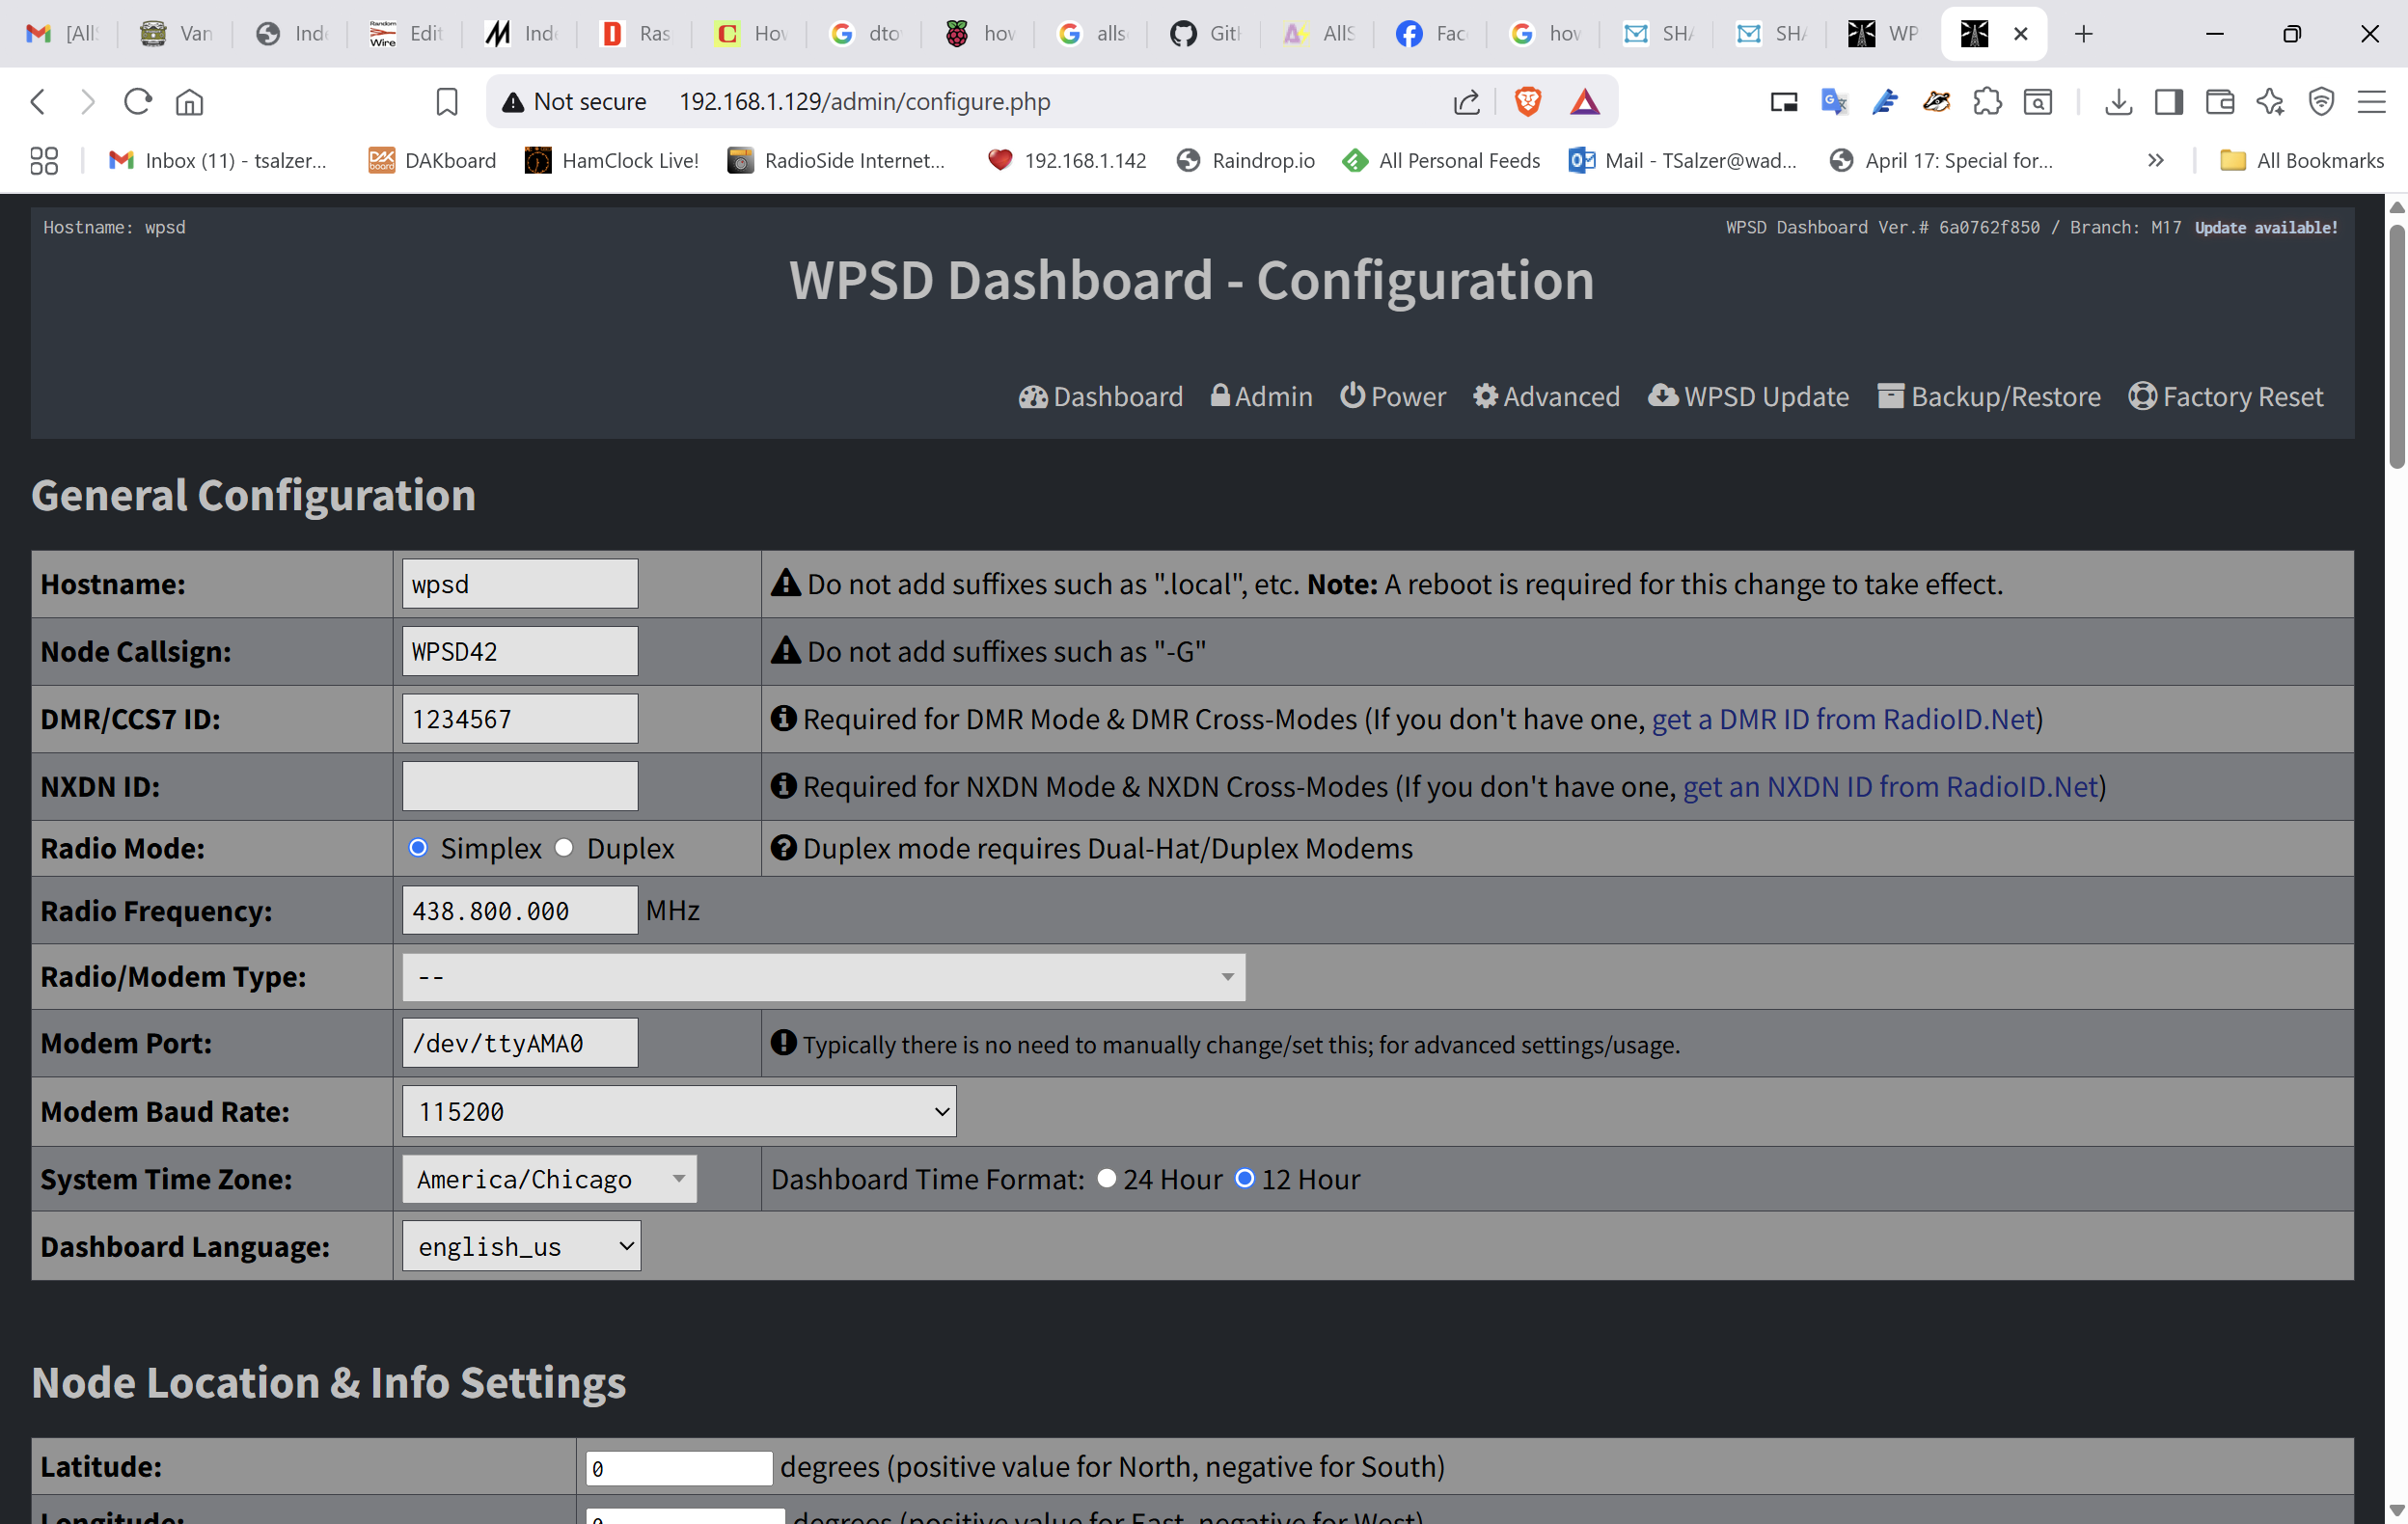
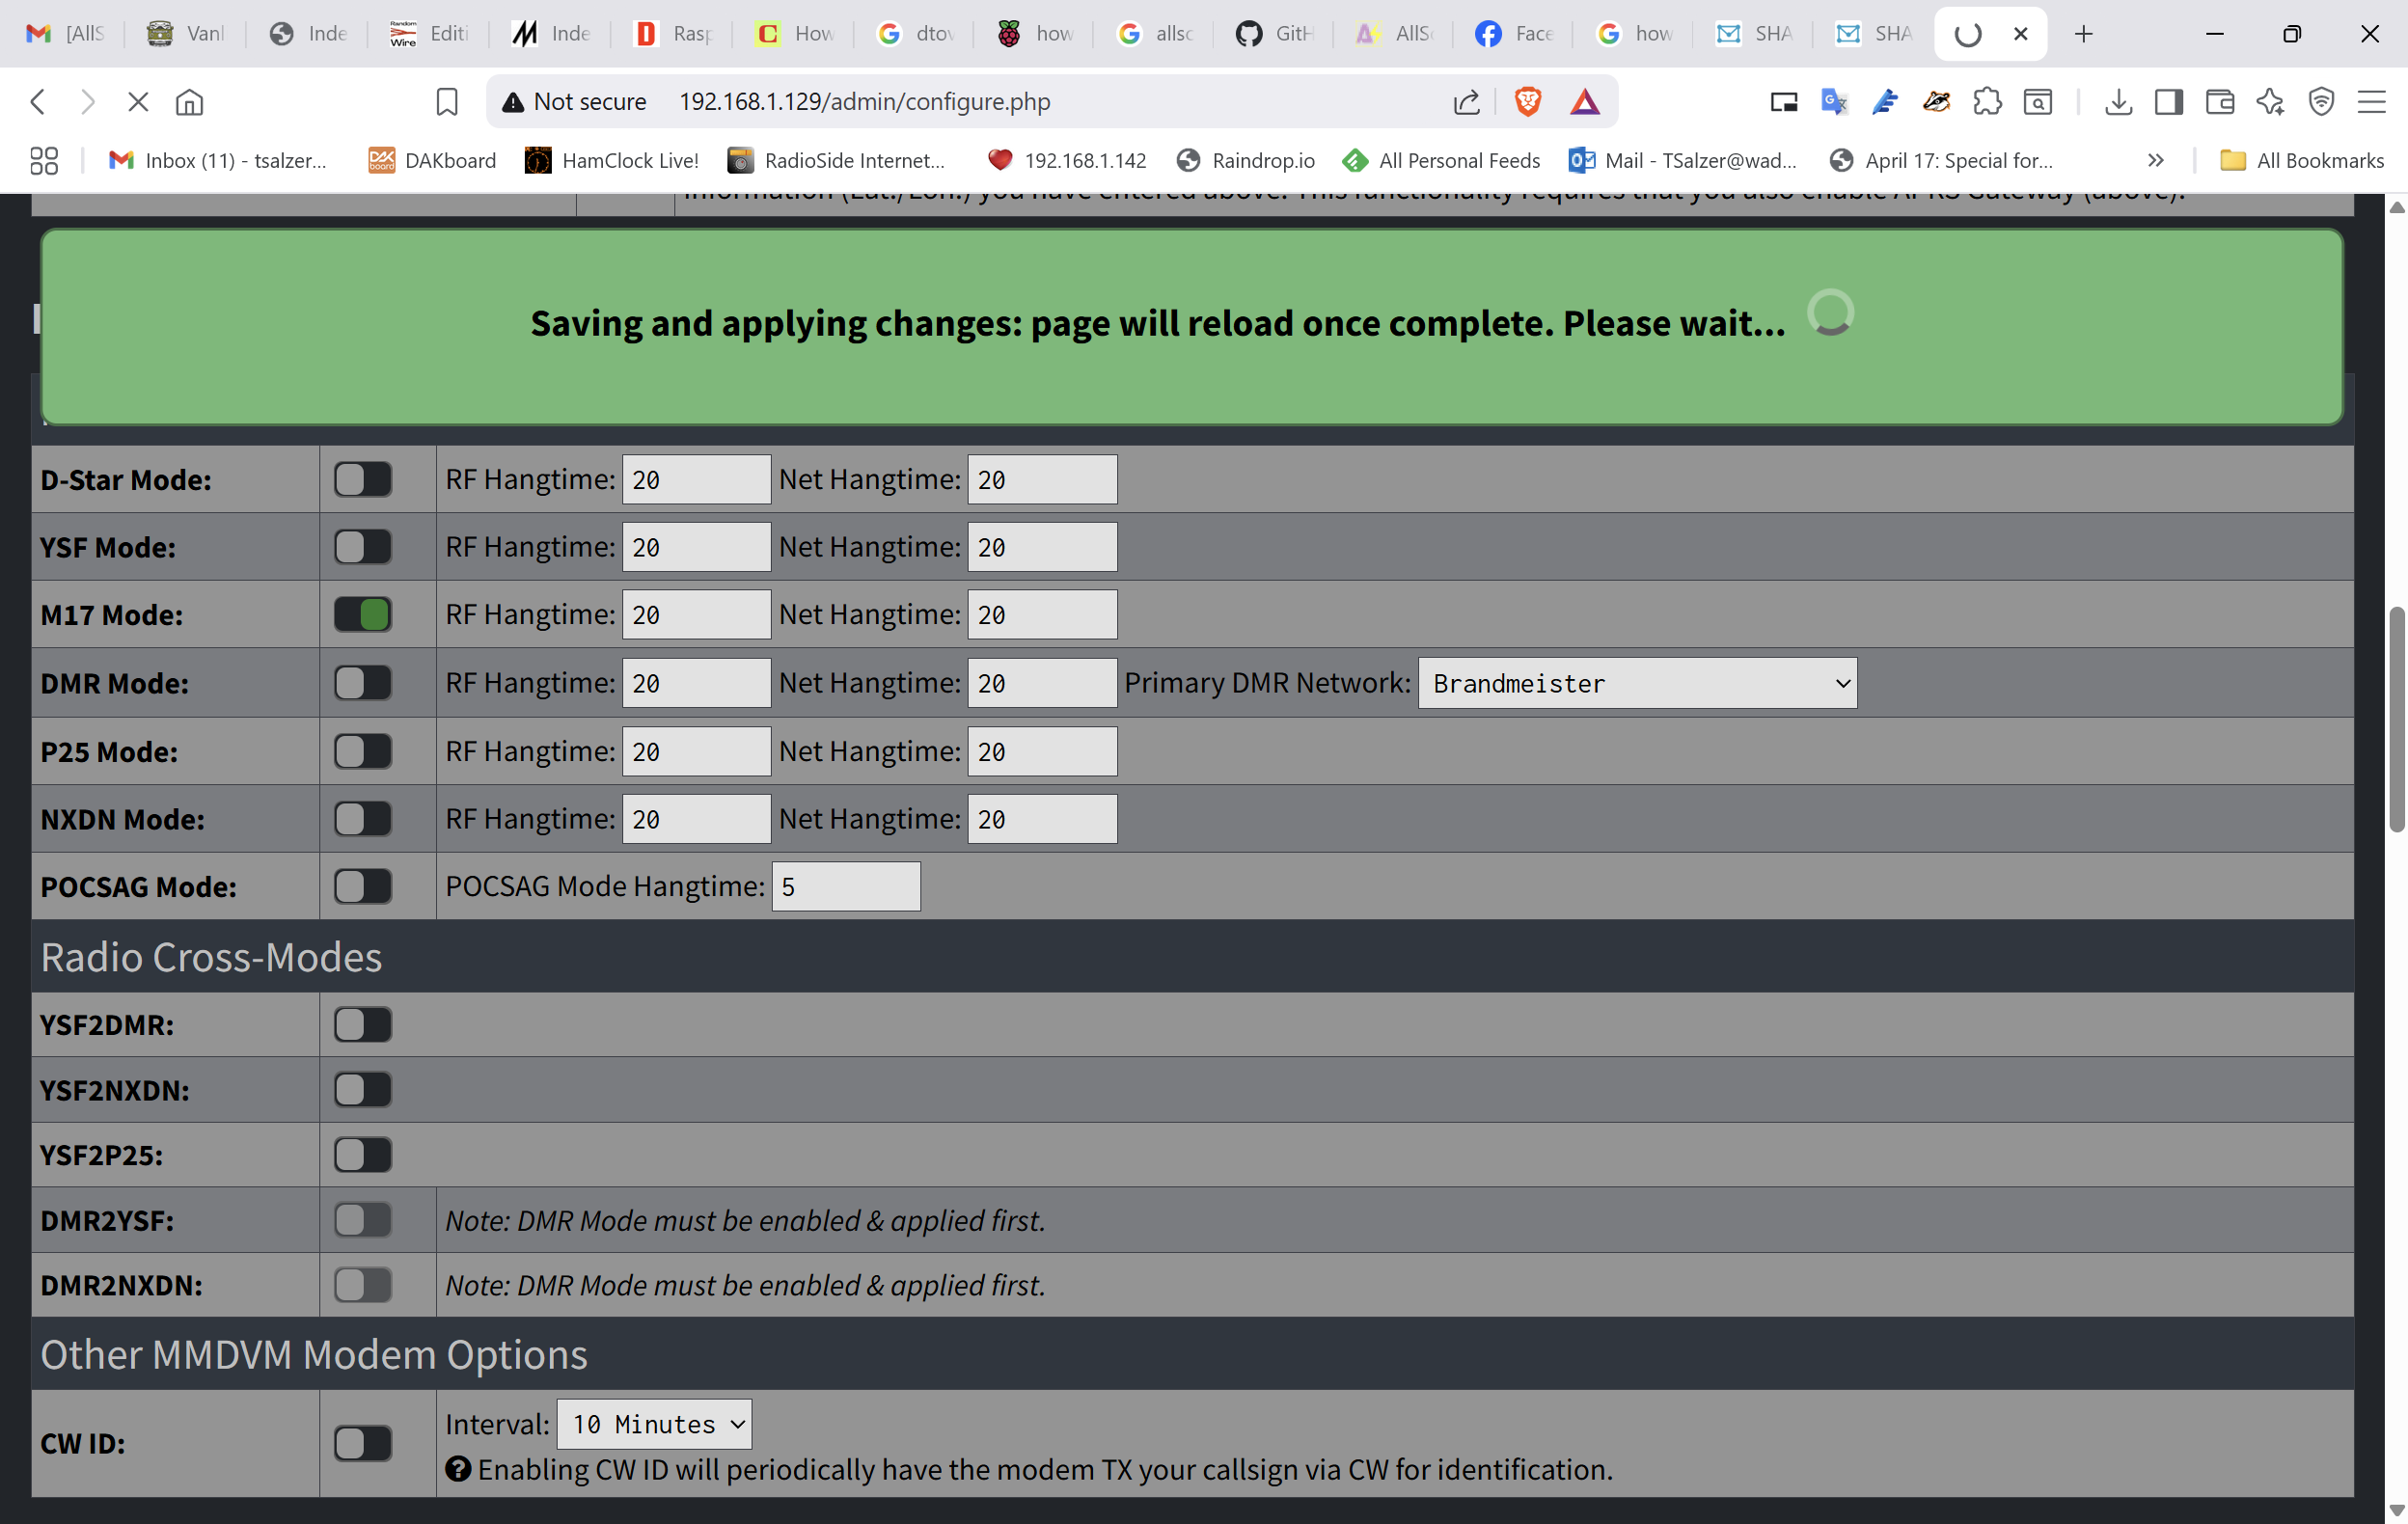
After that, I went into the configuration screen and turned off YSF Mode and turned on M17 Mode.
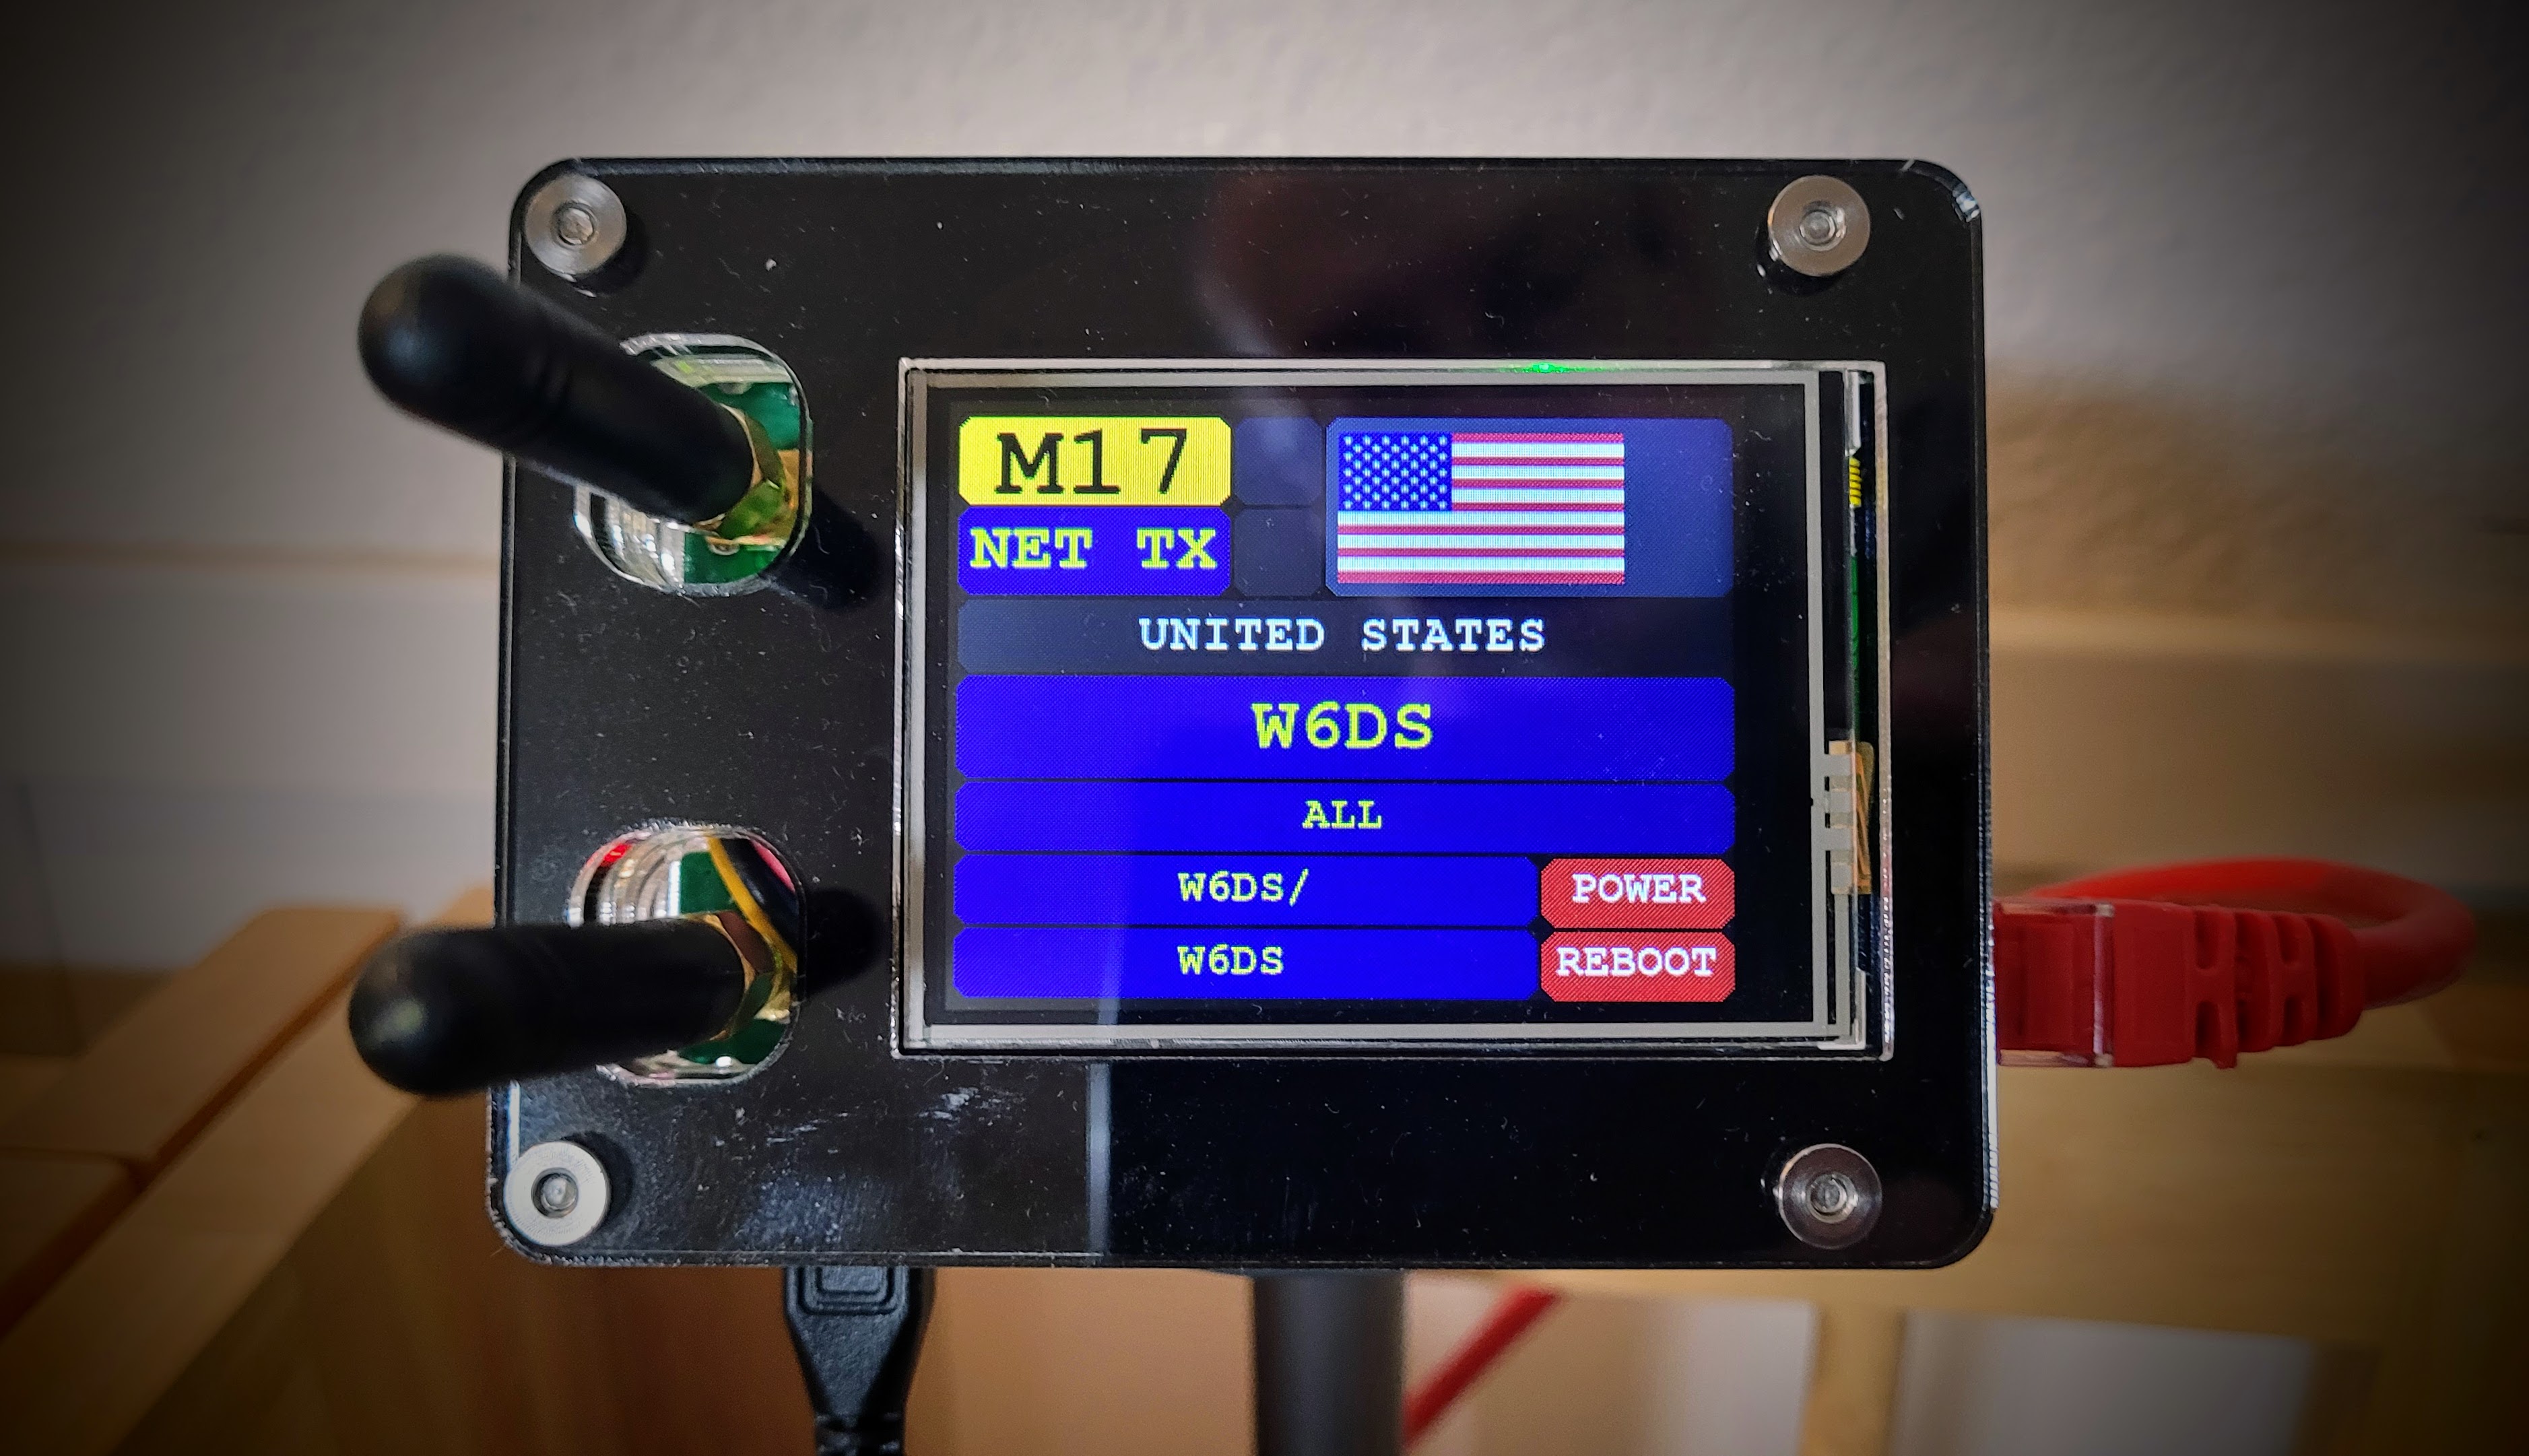
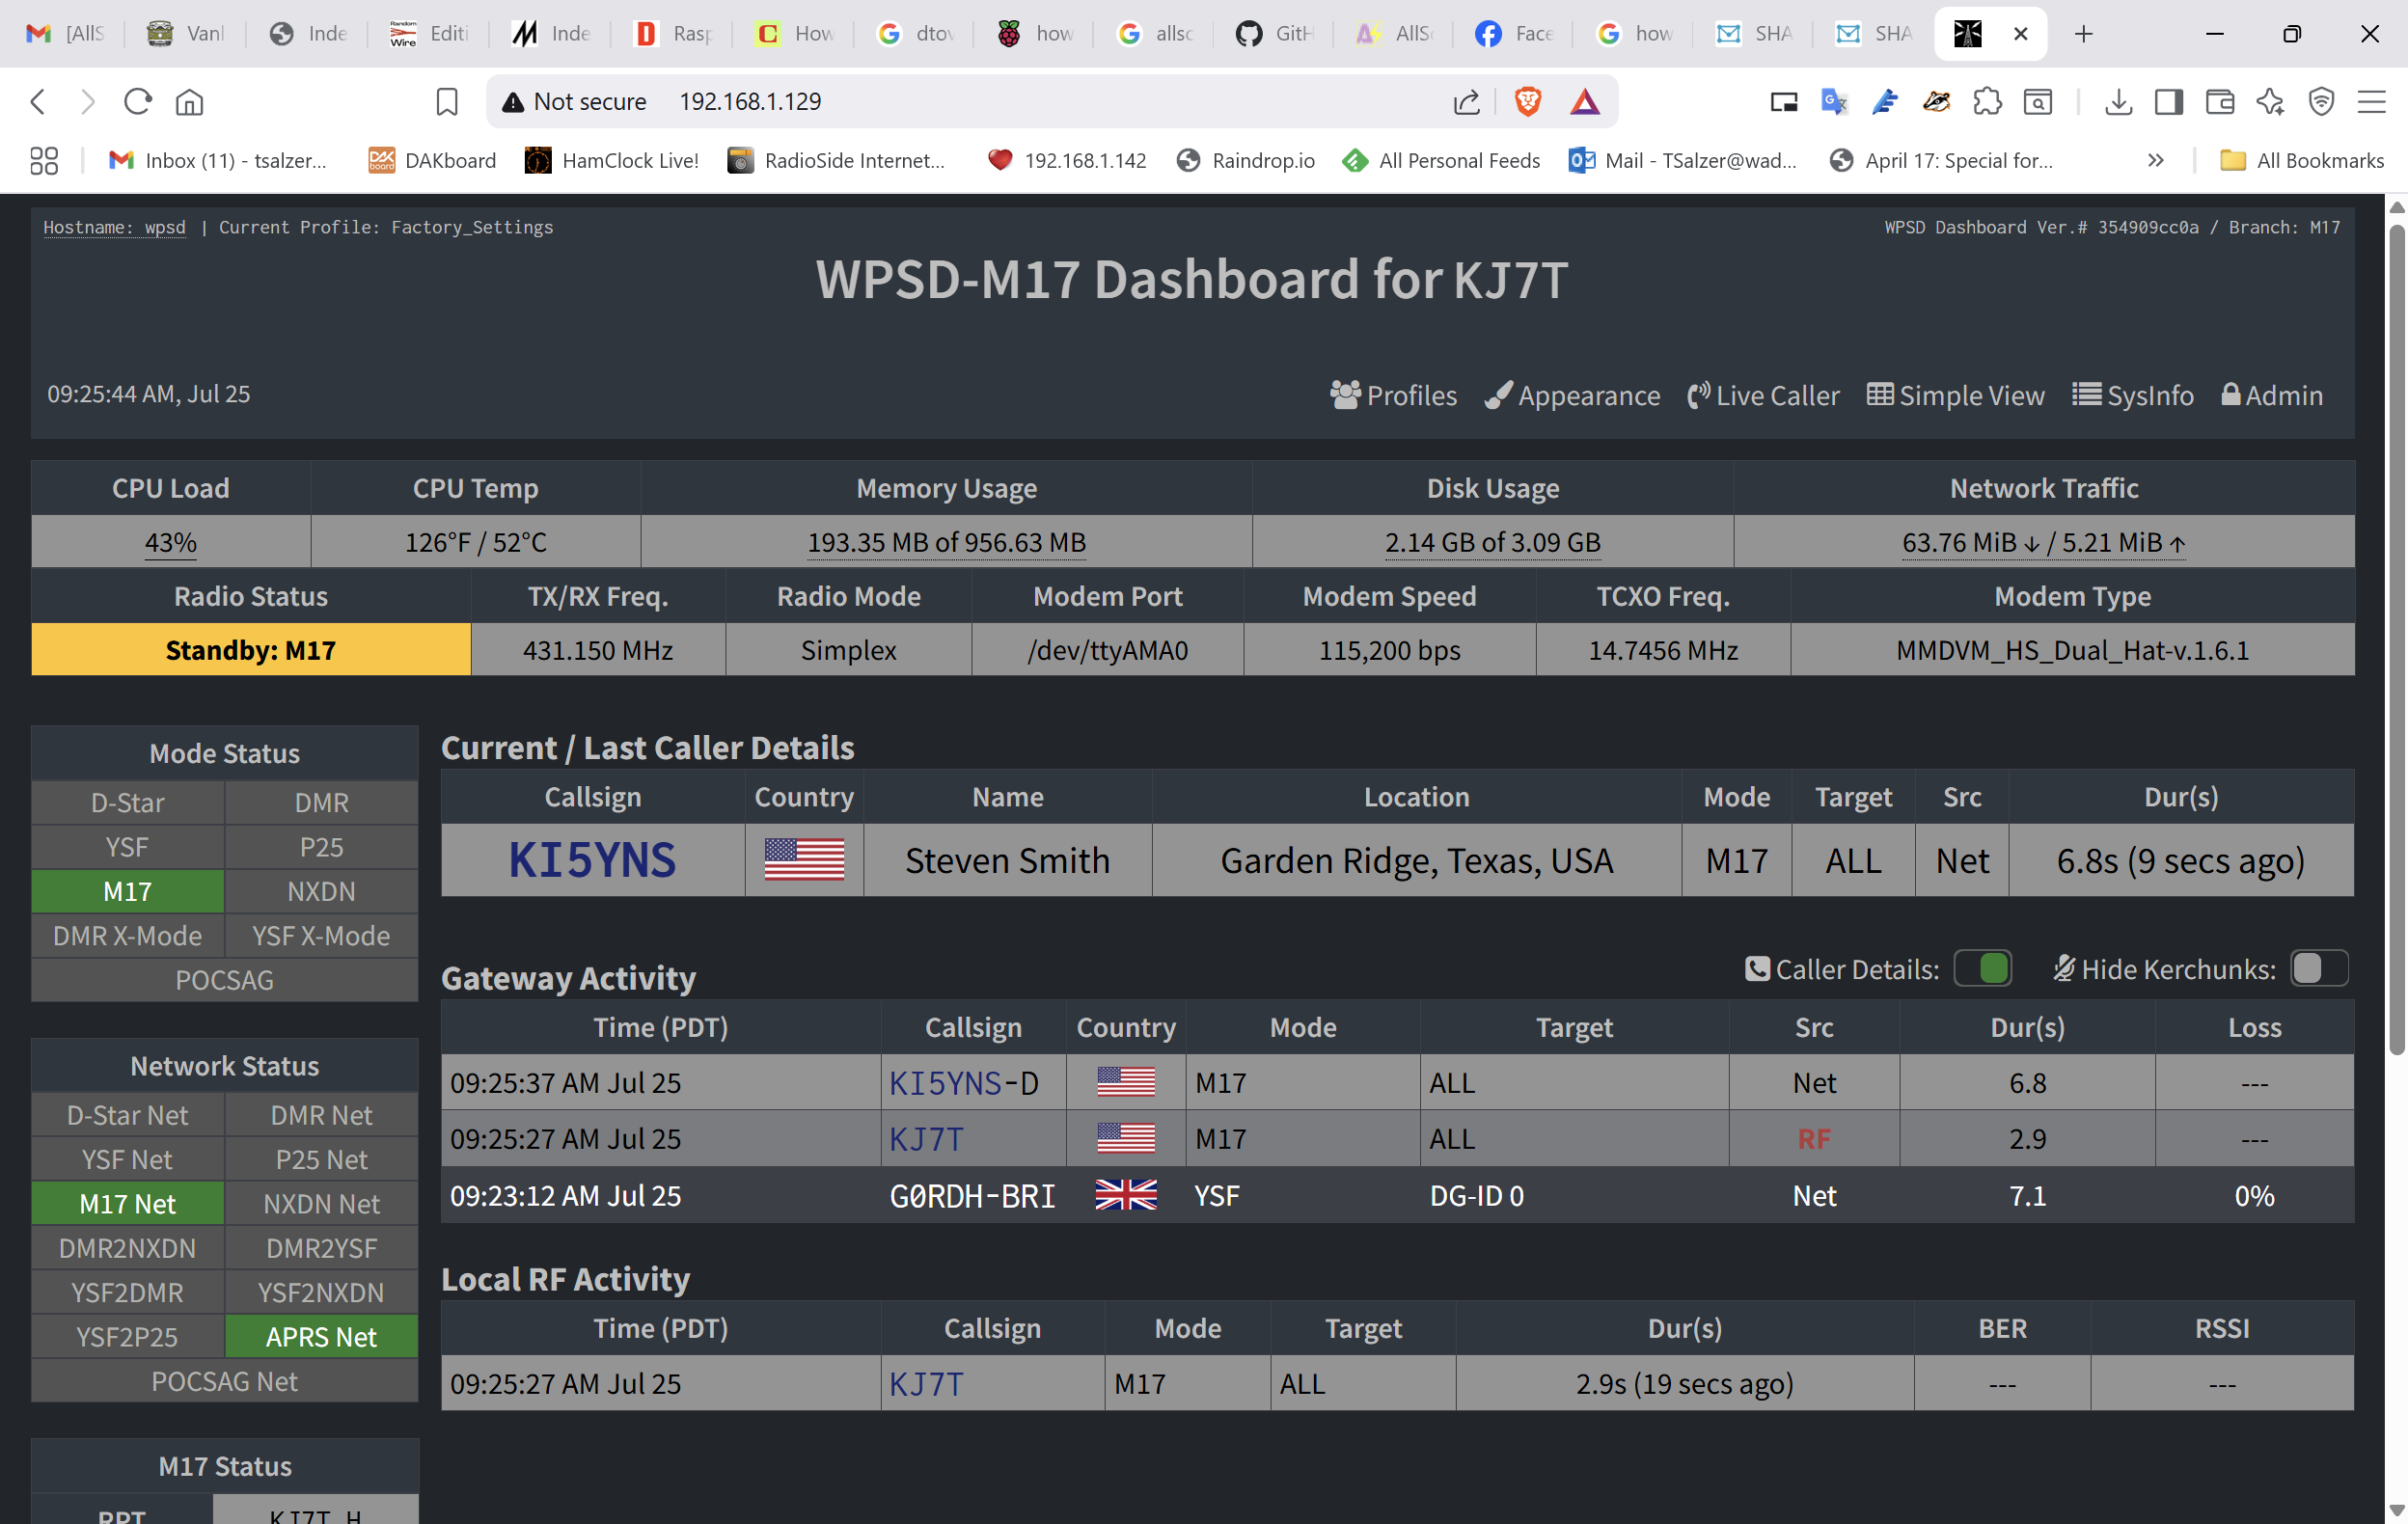
Then I made a test transmission on reflector M17-M17 C with my CS7000-M17 handheld radio. Steven KI5YNS was kind enough to answer and verified that my hotspot was working.
And then I rebooted the node, just to make sure it would come up as expected. It did.
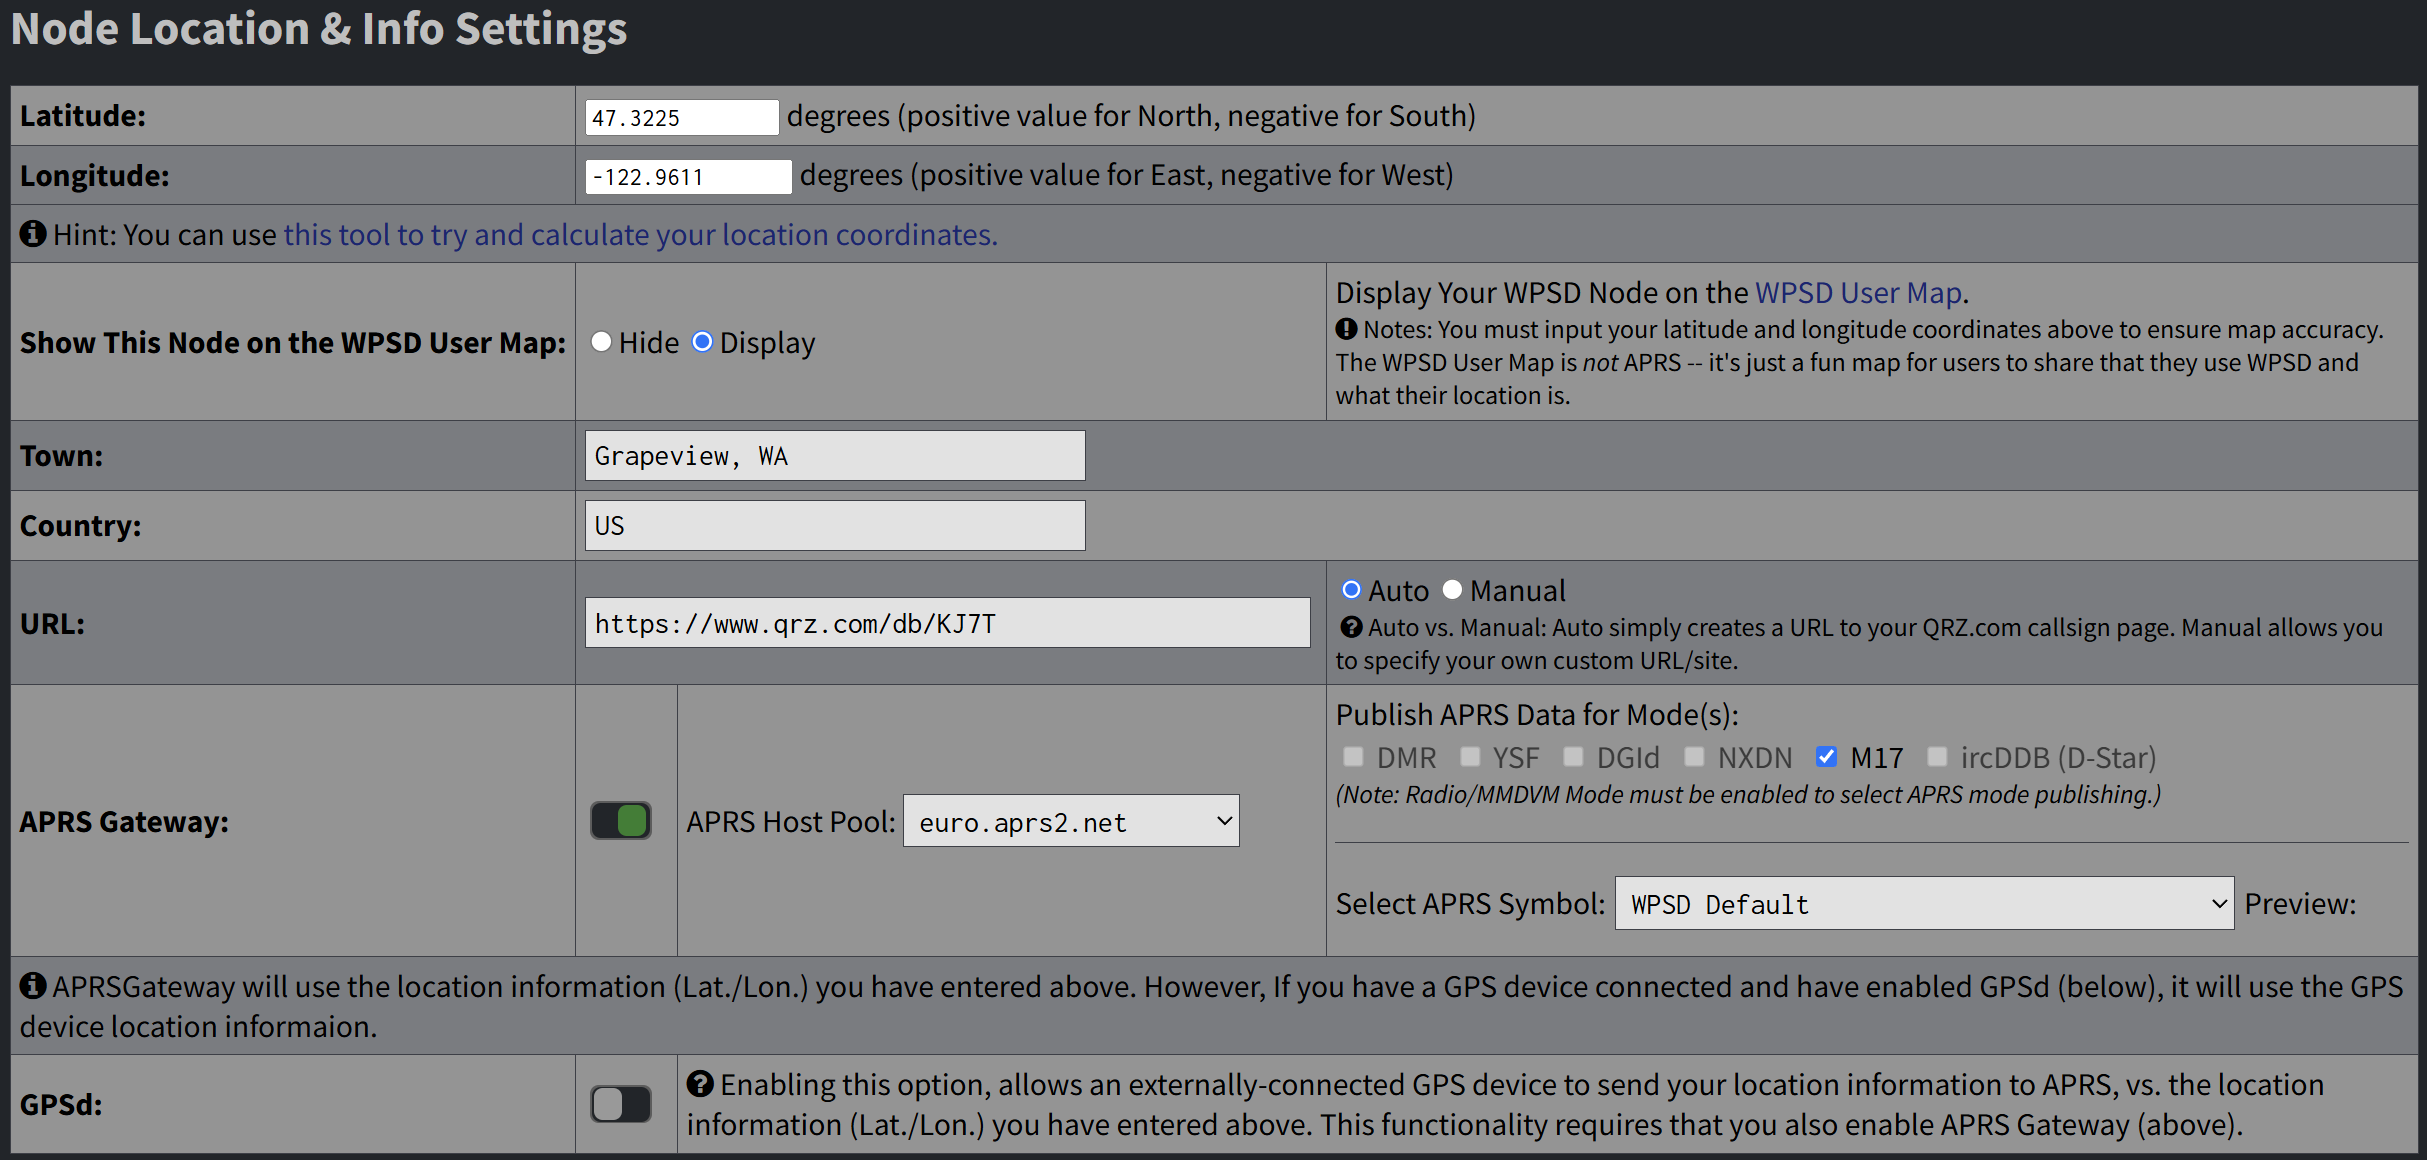
I had forgotten to change my APRS settings since the hotspot was last running in Oregon, so I updated my location, then set the hotspot to public my location for the M17 mode.
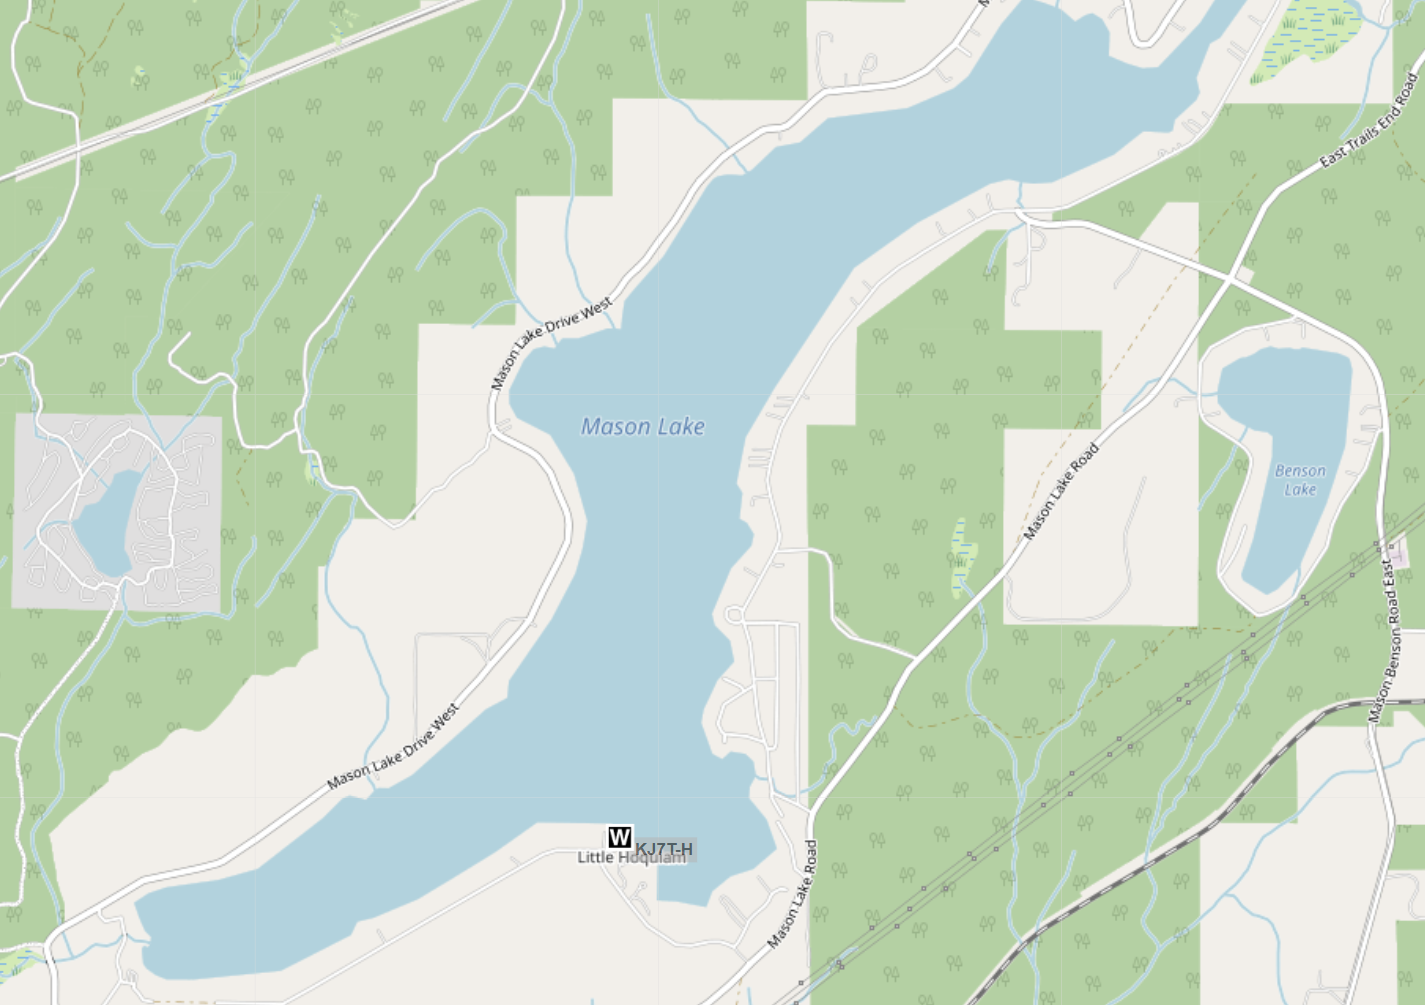
A few minutes later, the default W symbol (for WPSD) appeared on the aprs.fi map.
It took quite a bit longer to write this than it did to update the hotspot. Not including the download time, I’d say it took about 15 to 20 minutes to burn the WPSD-M17 software to my microSD card, boot up the hotspot, restore my configuration, and test.
The takeaways:
Backup your good, working WPSD configuration.
Install WPSD-M17 to a fresh microSD card.
Boot up your hotspot form the new WPSD-M17 card.
Restore your working configuration on the hotspot now running WPSD-M17.
Update the hotspot, consider rebooting.
Enjoy M17 with WPSD, courtesy of the M17 Project!


Leave a Reply