
Broken and fixed: AllStar node 588412
Somewhere along the line, my AllStar node stopped accepting SSH connections. Time to fix it. I spent a few hours rebuilding the node, as explained below.
This time, I decided to install the appliance version of ASL 3 on the Raspberry Pi 4 computer. After downloading the image file, I hit my first snag. It turns out that a recommended update to the Raspberry Pi Imager program was available, so I updated. Unfortunately, customization is broken in the updated version I installed, and apparently it’s a bug that won’t be fixed in this release (also, see this note about a very awkward [in my opinion] way around the problem). I found an older version (release 1.9.4) that I knew worked, downloaded and installed it, and it worked fine. (I note, though, that AllStarLink recommends using release 1.8.5.) Find older releases at https://github.com/raspberrypi/rpi-imager/releases. (I downloaded a couple of older versions and stored them on my network attached storage box.)
So I burned the image to the microSD card, put it in the Raspberry Pi and powered it up. It booted up just fine. I found the IP address and it opened in my browser to the AllStarLink admin portal. Perfect.
 Welcome to the ASL portal page
Clicking on the Web Admin Portal takes you to the Cockpit dashboard:
 Cockpit dashboard
From there, it was mostly easy sailing. I SSH’d into the box and ran sudo asl-menu to perform the initial setup. Then I used configuration parameters from AllScan to make sure the configs would work with the AllScan URI90 audio interface. My first test transmission to the Enhanced Parrot node 55553 went perfectly.
The next step was to configure Allmon 3. SSH’ing into the box, I went to /etc/allmon3/ and edited the allmon3.ini file, making sure the password was set correctly. But it didn’t work when I went to log in. Turns out I had forgotten I needed to reset the password through the SSH window. Once I did that, I was able to log in.
OK, once Allmon 3 was up and running right, it was time to install AllScan. This went perfectly, following the AllScan instructions. I set up my identity and logged, then imported my saved favorites file. All good. It was time to reboot. That worked.
Then I added the ability of the node to announce the IP address, using the Ham Radio Crusader’s script. Then I rebooted again and all was working well.
Finally, I pulled the microSD card and used Win32DiskImager to make an image file of the working card, then stored that backup on my Synology network attached storage box.
What else? I installed duf (sudo apt install duf). I like how duf displays disk space:

If you don’t want to install duf, you can simply use df -h for output that is still easily understandable:

And if you want to see everything, run df -ah (a for all, and h for human readable). I’m not pasting the longer output here but feel free to run in on your own machine.
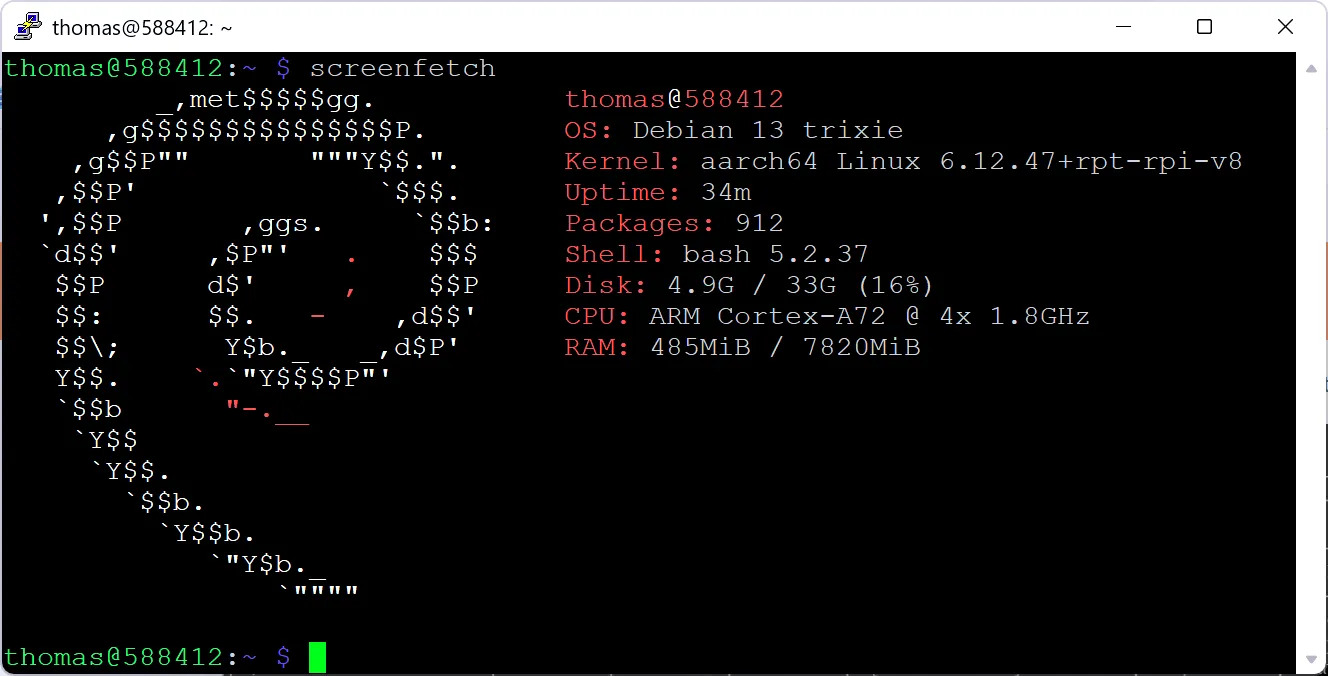
I also installed screenfetch simply because I like seeing it when I SSH into the box. I like the reminder that I’m on a machine with limited resources:
All of this actually took about three hours but it was worth it to get reacquainted with the process. I ended up with an AllStar node that works the way I like and a backup of the working system so I can recover more quickly in the future.
There is one unresolved issue. Although allstarlink.org shows the node is registered, when I test registration in the asl-menu system, it says it fails with 100% packet loss. I spent a few hours digging into this, finally discovering an open bug report that speaks to removing this item from the diagnostic menu in asl-menu. I’m guessing that means I don’t really need to worry about this. Everything is set up right on my end and since the node works, I’m going to ignore this one issue for now.


Leave a Reply